©Bundle of Paws Photography 2021
After the year we’ve all had, it feels great to be outside and one of my favorite things to do is shoot fireworks. To give you the best chance at the most keepers and wall worthy shots, a little bit of preparation ahead of time will go a long way! My best suggestions to get started:
When it comes to equipment you definitely do not need the latest and greatest camera or interchangeable lens, but a few smaller items will help increase the chances for success.
Equipment:
- Tripod – having a stationary base upon which to mount your camera for this long exposure photography will be critical. A cheap tripod is better than no tripod, a sturdy DIY mount is better than nothing – but keep in mind if you DIY something, you want it to be safe, secure because you’ll be shooting in the dark, and no one likes to punt their camera down the hill because it wasn’t totally secured in place.
- Cable Release – this is helpful for a few reasons – you can fire the shutter while minimizing camera shake or vibration when hitting the shutter button, and it’s far more convenient to hold down the trigger release for several seconds this way. Several of my shots are 20-30 seconds or more, no way I’d want to hold the physical shutter, and stay still that long
- Headlamp – you will need to some light, and I recommend a headlamp for a few reasons – you can free up your hands by sticking it on your head, and many of them also have a red light feature, and I prefer to use the red light to see my way around and giving me eyes an shorter amount of time to re-adjust to the dark when I shut it off
- Proper Clothing – it may sound simple, but dressing for the evening will be key to keeping you comfortable. Bug spray as well usually finds its way into my bag.
©Bundle of Paws Photography 2021
Early in the Day:
- Find a Spot – Get there EARLY! You’re going through a lot of effort to make it happen, mine as well arrive a bit earlier and stake out a primo spot! Depending on your choice, this might be right up close to the show, or maybe far away to give you a broad view, whatever works for making your vision come to life.
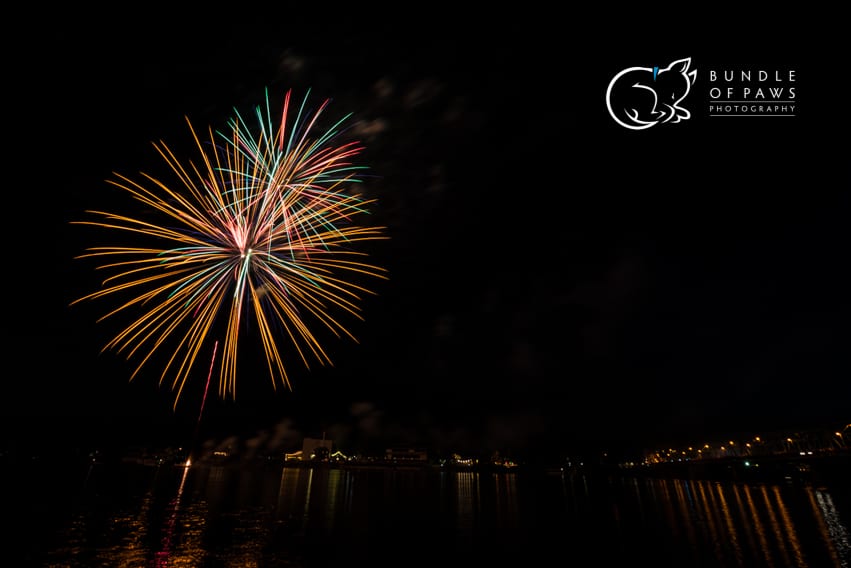
- Envision the shot – are you framing your shots with some feature in the landscape – a tall building, the Statue of Liberty if you’re shooting in NYC, or a bridge like this in Lambertville, NJ? Envision your shot and find that spot that allows you to frame it.
- Select your lenses – if using a DSLR – if you’re using a point and shoot that can zoom, same philosophy. Do you want a shot that follows the shell trail up into the sky and the explosion, or do you want to just focus on the explosion? Keep in mind – super wide angle lenses, like I used in the photo above (Nikon f/2.8 14-24mm) can create distortion in your shot (No that bridge on the right was definitely NOT tilted)
©Bundle of Paws Photography 2021
Camera Settings – this is for the DSLR crowd, unless your point and zoom allows you to manually adjust your settings, maybe even having a fireworks mode?
- ISO – this setting controls the light sensitivity of your sensor – suggest keeping it low – and ignore that thought of, “I’m shooting at night, I need to jack up the ISO” – no you don’t. I always shoot at ISO100 the nature setting for my Nikon DSLR.
- Focus – pay close attention to the first few shots to ensure you are in focus. Sometimes I’ll preset my focus to infinity if I’m far enough away from the show where it shouldn’t make a difference. I also prefer a zoom lens to allow me to change up my composition during the show for those wider shots incorporating the framed landscape, or to zoom in just to the burst as I like. But keep an eye on this, especially if you inadvertently bump your tripod in the dark – nothing worse than a slight kick to throw off every shot you take for the rest of the night.
- Flash – Leave this off. No real point here, unless you are using OCF to illuminate some foreground feature or you want to dabble with some light painting, which while really cool, isn’t for a beginner article like this one.
- Aperture – I like to start at F/11, and go up or down from there. You may need to stop down to F/16 depending on your conditions, location and distance from the bursts. Be sure to really chimp those first few shots to ensure everything is in focus.
- Shutter Speed – HERE is the big question, what shutter speed. Well, there is no one right answer, unless that answer is “It depends.” Here is where that cable release we discussed earlier comes in helpful. I’ll put my shutter on BULB mode, which allows me to hold down the cable release trigger as long as I need. The first few bursts are where I’ll start out sampling to see how my exposure is (also my focus too). If it’s underexposed at 5 seconds lets say, then a little longer on the next, and so forth. If your point and shoot doesn’t have this capability, or a port to plug in a cable release – you can always try the self timer mode, and start at 3 or 5 seconds and see what you get.
©Bundle of Paws Photography 2021
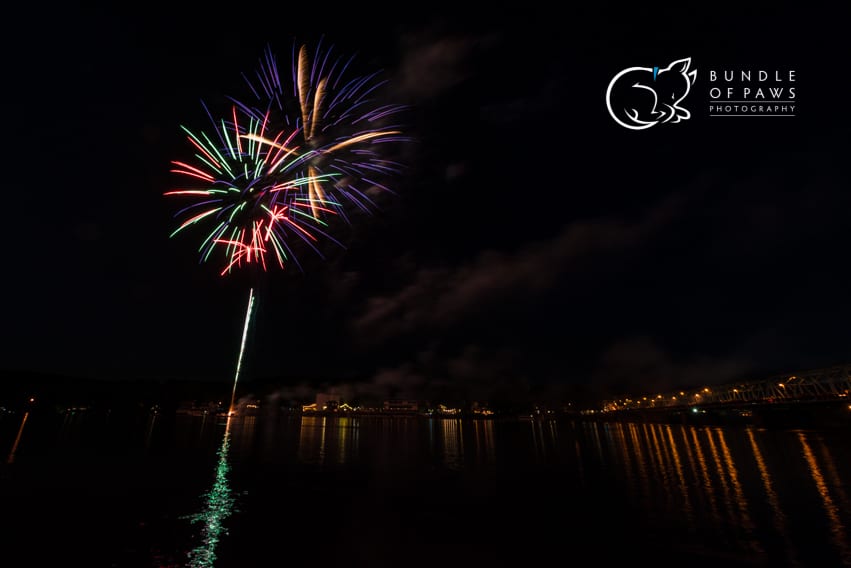
Keep in mind as you are fine tuning your settings, the show may start at ‘blue hour’ like the shot above, and as the night goes on will progressively become darker and darker, so you will likely not be able to set your settings at the top and keep them the same all night, without severely under exposing the shots at the end of the show. So keep chimping every few shots and see how you’re doing.
Keep an eye on your settings, is the white spot at center of the burst blown out? Is the framed landscape or feature you are including under exposed and adjust from there. And for heaven’s sake, when you set up your shot keep that horizon line straight!!
Have fun, and I hope this helps. And if you’re struggling, that’s OK too. Sometimes it’s easy to keep so caught up in capturing the show and ‘working it’ that we don’t take time to take a breath and simply enjoy it with our friends and family. At the end of the day, just doing that is a win in my book anytime!
Let me know how you did!
